Deep-Cycle Battery
Out with the old Optima Red Top, in with the new deep-cycle Optima Yellow Top. This battery will be able to be drained and recharged many more time than my old Red Top, which kept dying every year.
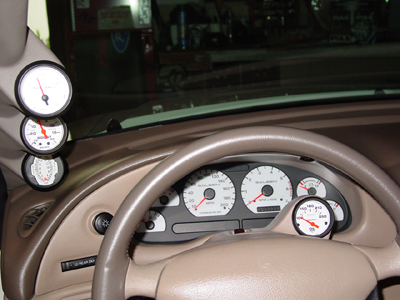
A-Pillar Guages
I added a dual EGT guage and replaced my old boost/vacuum guage with a more accurate one. I also put an oil temperature guage on the steering column. The guage pods are Autometer pieces that I painted to match the interior.
Sequential Turn Signals
I modified my rear turn signals with a kit from ATS that turns them into sequential turn signals. It also works with the hazards and the brakes (stays on with brakes, of course), pretty cool!
Animated images are available on the ATS website, I'm having a problem uploading animated .gif files at the moment.
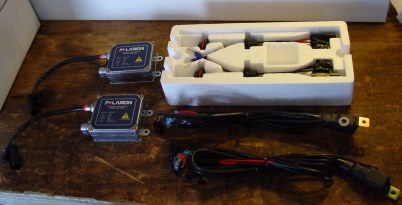
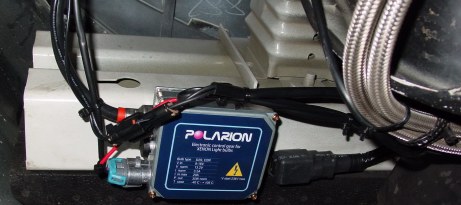
HID Headlights
I had used high wattage halogen bulbs for a long time, but nothing comes close the light provided by HID bulbs. You can learn all the basics about HID lighting here. HID lights are much brighter than regular halogen bulbs and they actually use less electricity. They're becoming more common as standard equipment on cars because of their superior performance and reduced energy consumption. A little bit of wiring and a nice spot to mount the ballast and you're done. I used a 4100k kit for pure white light, none of that blue or purple crap here.
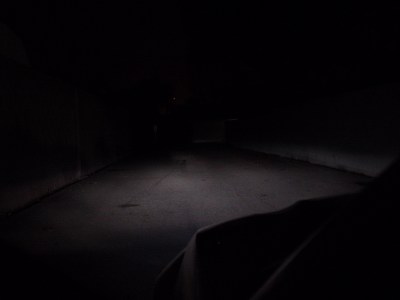
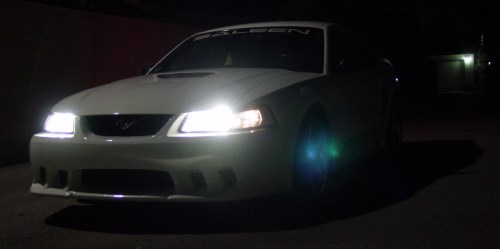
Before and after.
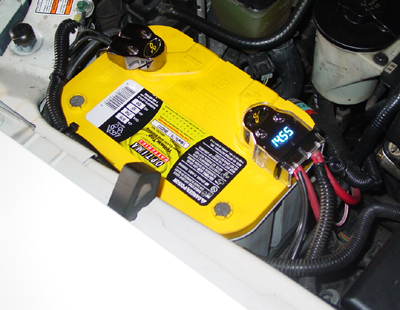
Battery Terminals
To assist with the wiring for all my electronic goodies I threw on a set of Stinger battery terminals. The positive terminal has a built in voltmeter that I wired to a switch so I can verify battery voltage easily. (After two Optima Red Tops going bad, I've switched back to the stock Ford battery. I'll be trying a Yellow Top in the near future.)

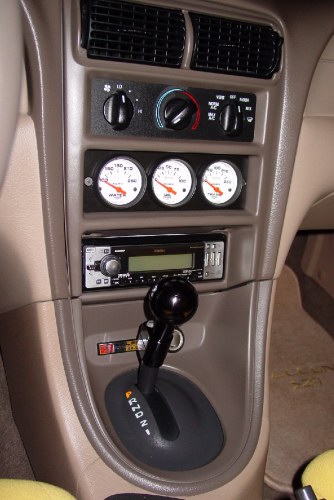
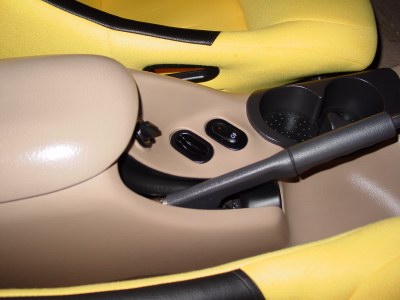
Stereo and Gauges
Out with the dual-DIN Ford head unit and CD player, in with a Clarion deck and a trio of gauges: water temperature, oil pressure, and transmission temperature.
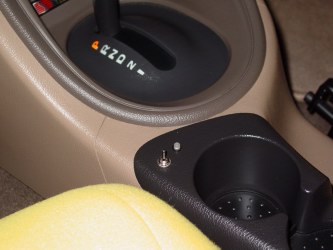
Also dropped in the coin holder switch from Need For Speed. I don't have it hooked up to anything yet, but I'm looking for a missile launcher.
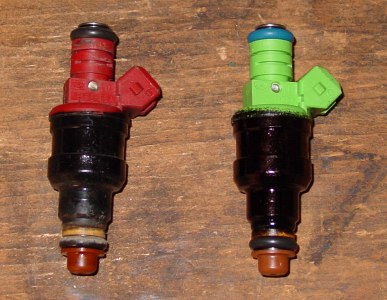
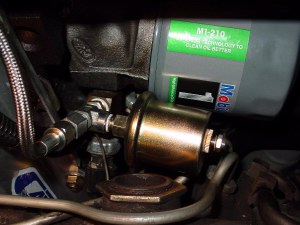
Fuel Injectors
The '03 Cobra pump and tank get the fuel to the rails, after that it's up to the fuel injectors to supply each cylinder with enough fuel. I swapped out the 30 lb/hr injectors that came with the Vortech kit for a set of Bosch 42 lb/hr injectors. The 42 lb/hr injectors are green. These injectors will be good for up to about 550 horsepower at the wheels.
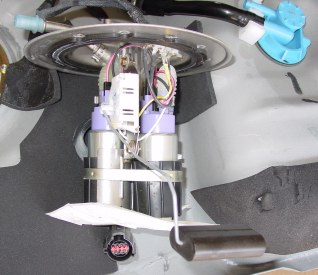
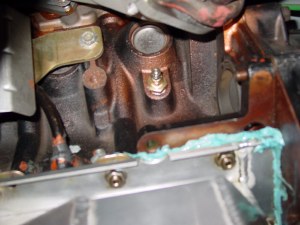
Fuel Pump
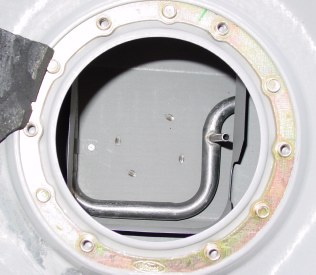
Handling my fuel requirements is a dual fuel pump and fuel tank from a 2003 Cobra. This set up has no problem delivering the steady rate of fuel at high pressure required by the returnless fuel system. Unlike the old return-style systems, moving an incredible volume of fuel is not the top priority. It is more important to maintain flow at pressure. The tank is internally baffled to keep fuel at the pick-ups, even under extreme cornering (over 1.0g).
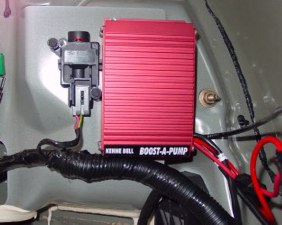
My old fuel upgrade was noting more than a Kenne Bell Boost-a-Pump. It worked well, but there's no replacement for the 2003 Cobra fuel pump and fuel tank combo.
Old setup: KB B.A.P. with adjustment knob mounted in the glove box.
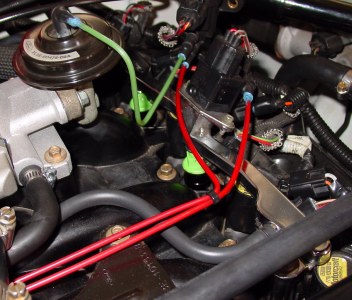
Intake Temperature
The intake air temperature (IAT) sensor is usually located on the inlet side of the blower. I relocated the IAT to the discharge side of the blower. This ensures that the IAT will tell the PCM the actual intake temperature, since air heats up as it is compressed by the supercharger.
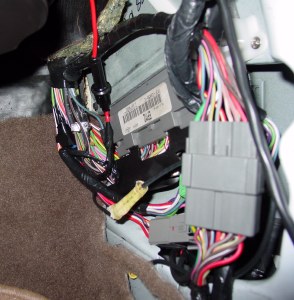
Chip
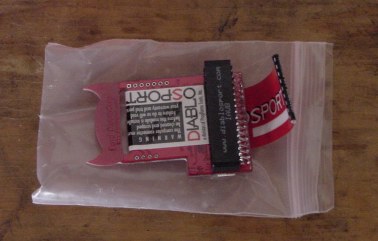 I had been having some drivability problems with my car (stalling, hunting idle, poor acceleration) and was approached by Shawn Ellis of Diablosport Chips of Southern California suggesting I replace the Vortech-supplied Superchip in my car with one of his custom programed Diablosport chips. After an afternoon of messing around with different programs (it turned out the Superchip had actually fallen out of the computer, I'm lucky I didn't blow my motor up) we got my car running better than it ever has before. I can feel a definite power increase throughout the RPM band in all gears and there is a definite positive improvement in the shifts (firm, solid). Additionally, the chip has a built-in MIL eliminator function, so the MIL light I had been getting from a bad rear O2 sensor is gone for good. A few pulls on the dyno and we made sure my air/fuel ratio was safe (it's 11.8:1 up top) and that my timing was set correctly. I highly recommend Shawn to anyone looking to get their Ford vehicle (F-series, Focus, you name it, he'll tune it) running the way they always thought it should.
I upgraded to a Diablosport Revolutions chip. The chip has spots for two programs which are selectable via a switch I installed. The light changes color (red, green, off) depending on which tune you select.
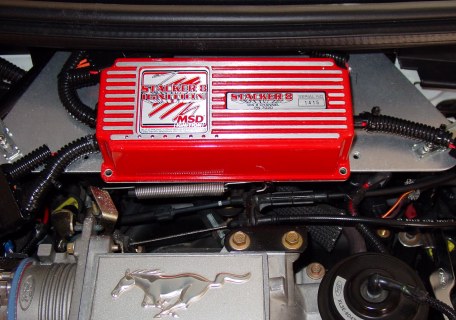
 Ignition
A supercharger forces a lot of air into the engine. This requires a powerful spark to ignite the air/fuel mixture. I had noticed that, on occasion (most notably at autocrosses), I would actually be blowing the spark out, so to give my ignition a little boost I added an MSD Stacker 8. There's not a whole lot available for Ford's coil-on-plug ignition. This MSD box is essentially a spark booster, providing multiple sparks below 3000 rpms and at least 1 high-powered spark above 3000 rpms.
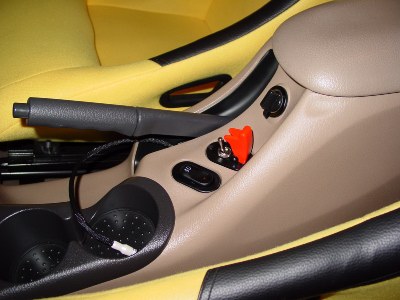
Fan Switch
A simple mod to keep your car running cool is to install a manual fan switch. This is as easy as grounding out one of the wires from the PCM. I used an inline fuse to protect the computer in case the ground accidentally found a power source. For the switch I used one of Ford's factory fog light switches since they fit right where the coin holders go. I also installed a 180-degree thermostat. Together with the fan switch my car should stay noticeably cooler now.
|